
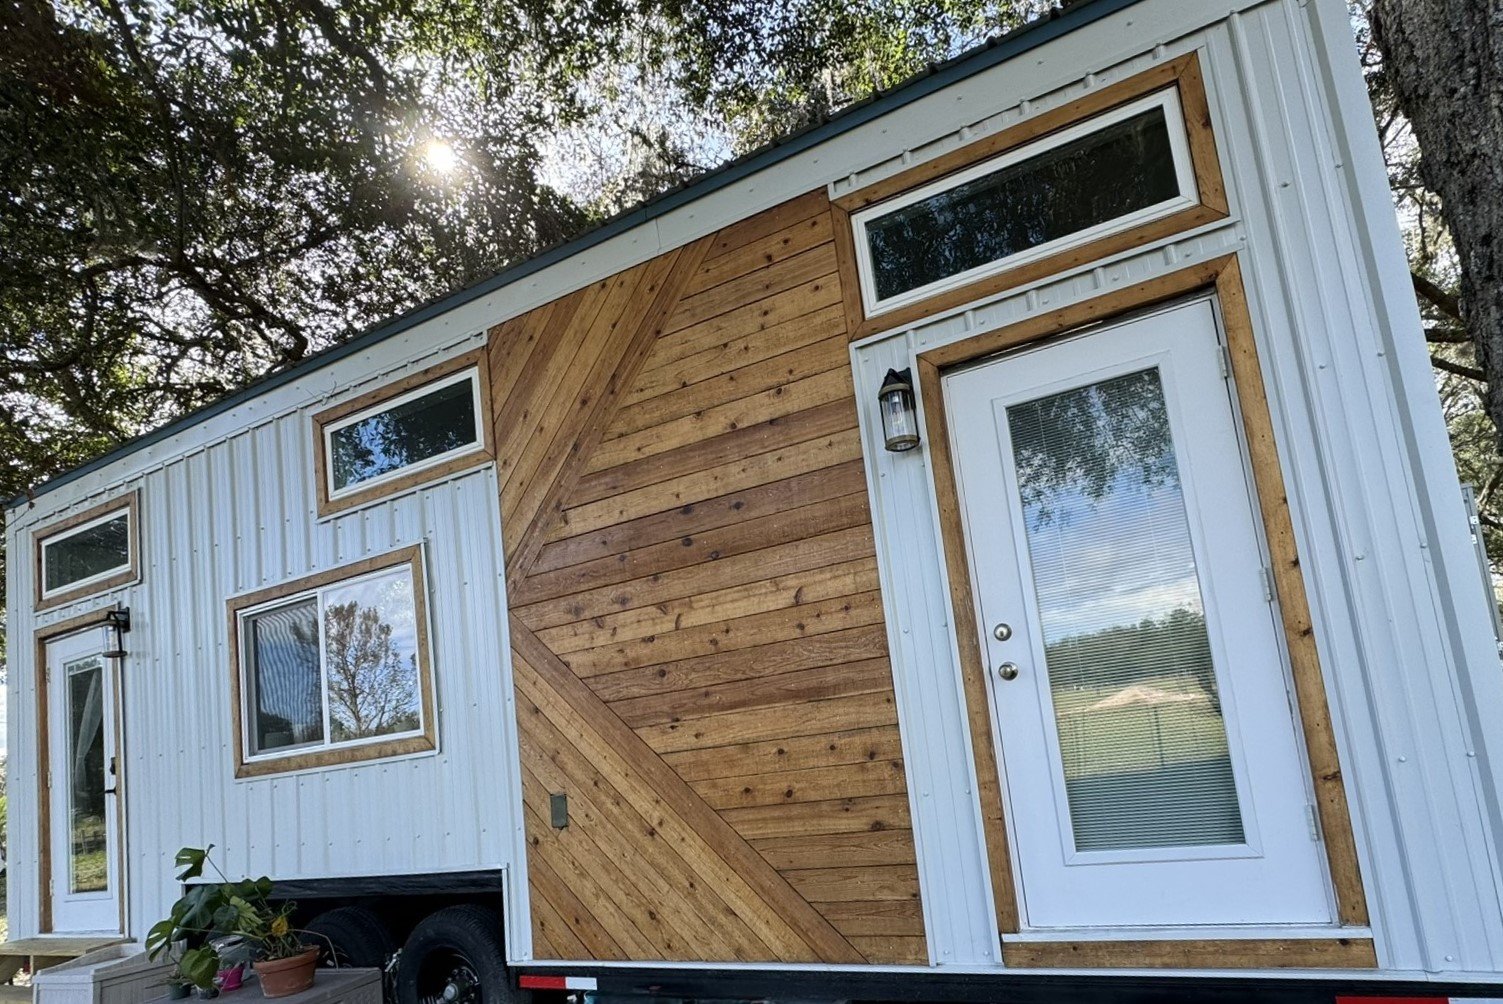
How to Build a Hurricane Resilient Tiny Home
I’d like to start by saying my heart goes out to all of those who lost so much during these last two massive hurricanes in 2024. Helene & Milton are to blame for countless lives lost and unspeakable damage. Jason and I evacuated the tiny home for both of these storms and are blessed to say we came back to our home intact. Thanks to our friend who owns this property and farm we live on, we had no tree limbs fall on our roof. We came back to only downed branches and a lot of leaves.
The day before Milton came, we spent many hours cleaning up the area in which we live from many months of construction materials and tools. It felt really good to finally have the front yard cleared of a giant black tarp covering leftover wood. Jason also worked hard fixing our gate and moving the fencing around a bit so we can drive in closer to the tiny home. We decluttered even more and put our tools and other must have outdoor things stored under the trailer so the area around the home was clear of debris in case a tornado came. We did as much as we could to protect our home before the hurricane. The majority of the hurricane preparation actually happened during the build process. Here’s what you can do in your build to make your home strong and hurricane resistant.
Heavy Duty Trailer
It starts with the trailer. It makes sense to get a sturdy trailer that will hold as much weight as possible. It will be a heavier house, making it more difficult to transport, but also harder for a hurricane to destroy. We built our home on top of the trailer quite robustly, so it is close to that maximum weight capacity.
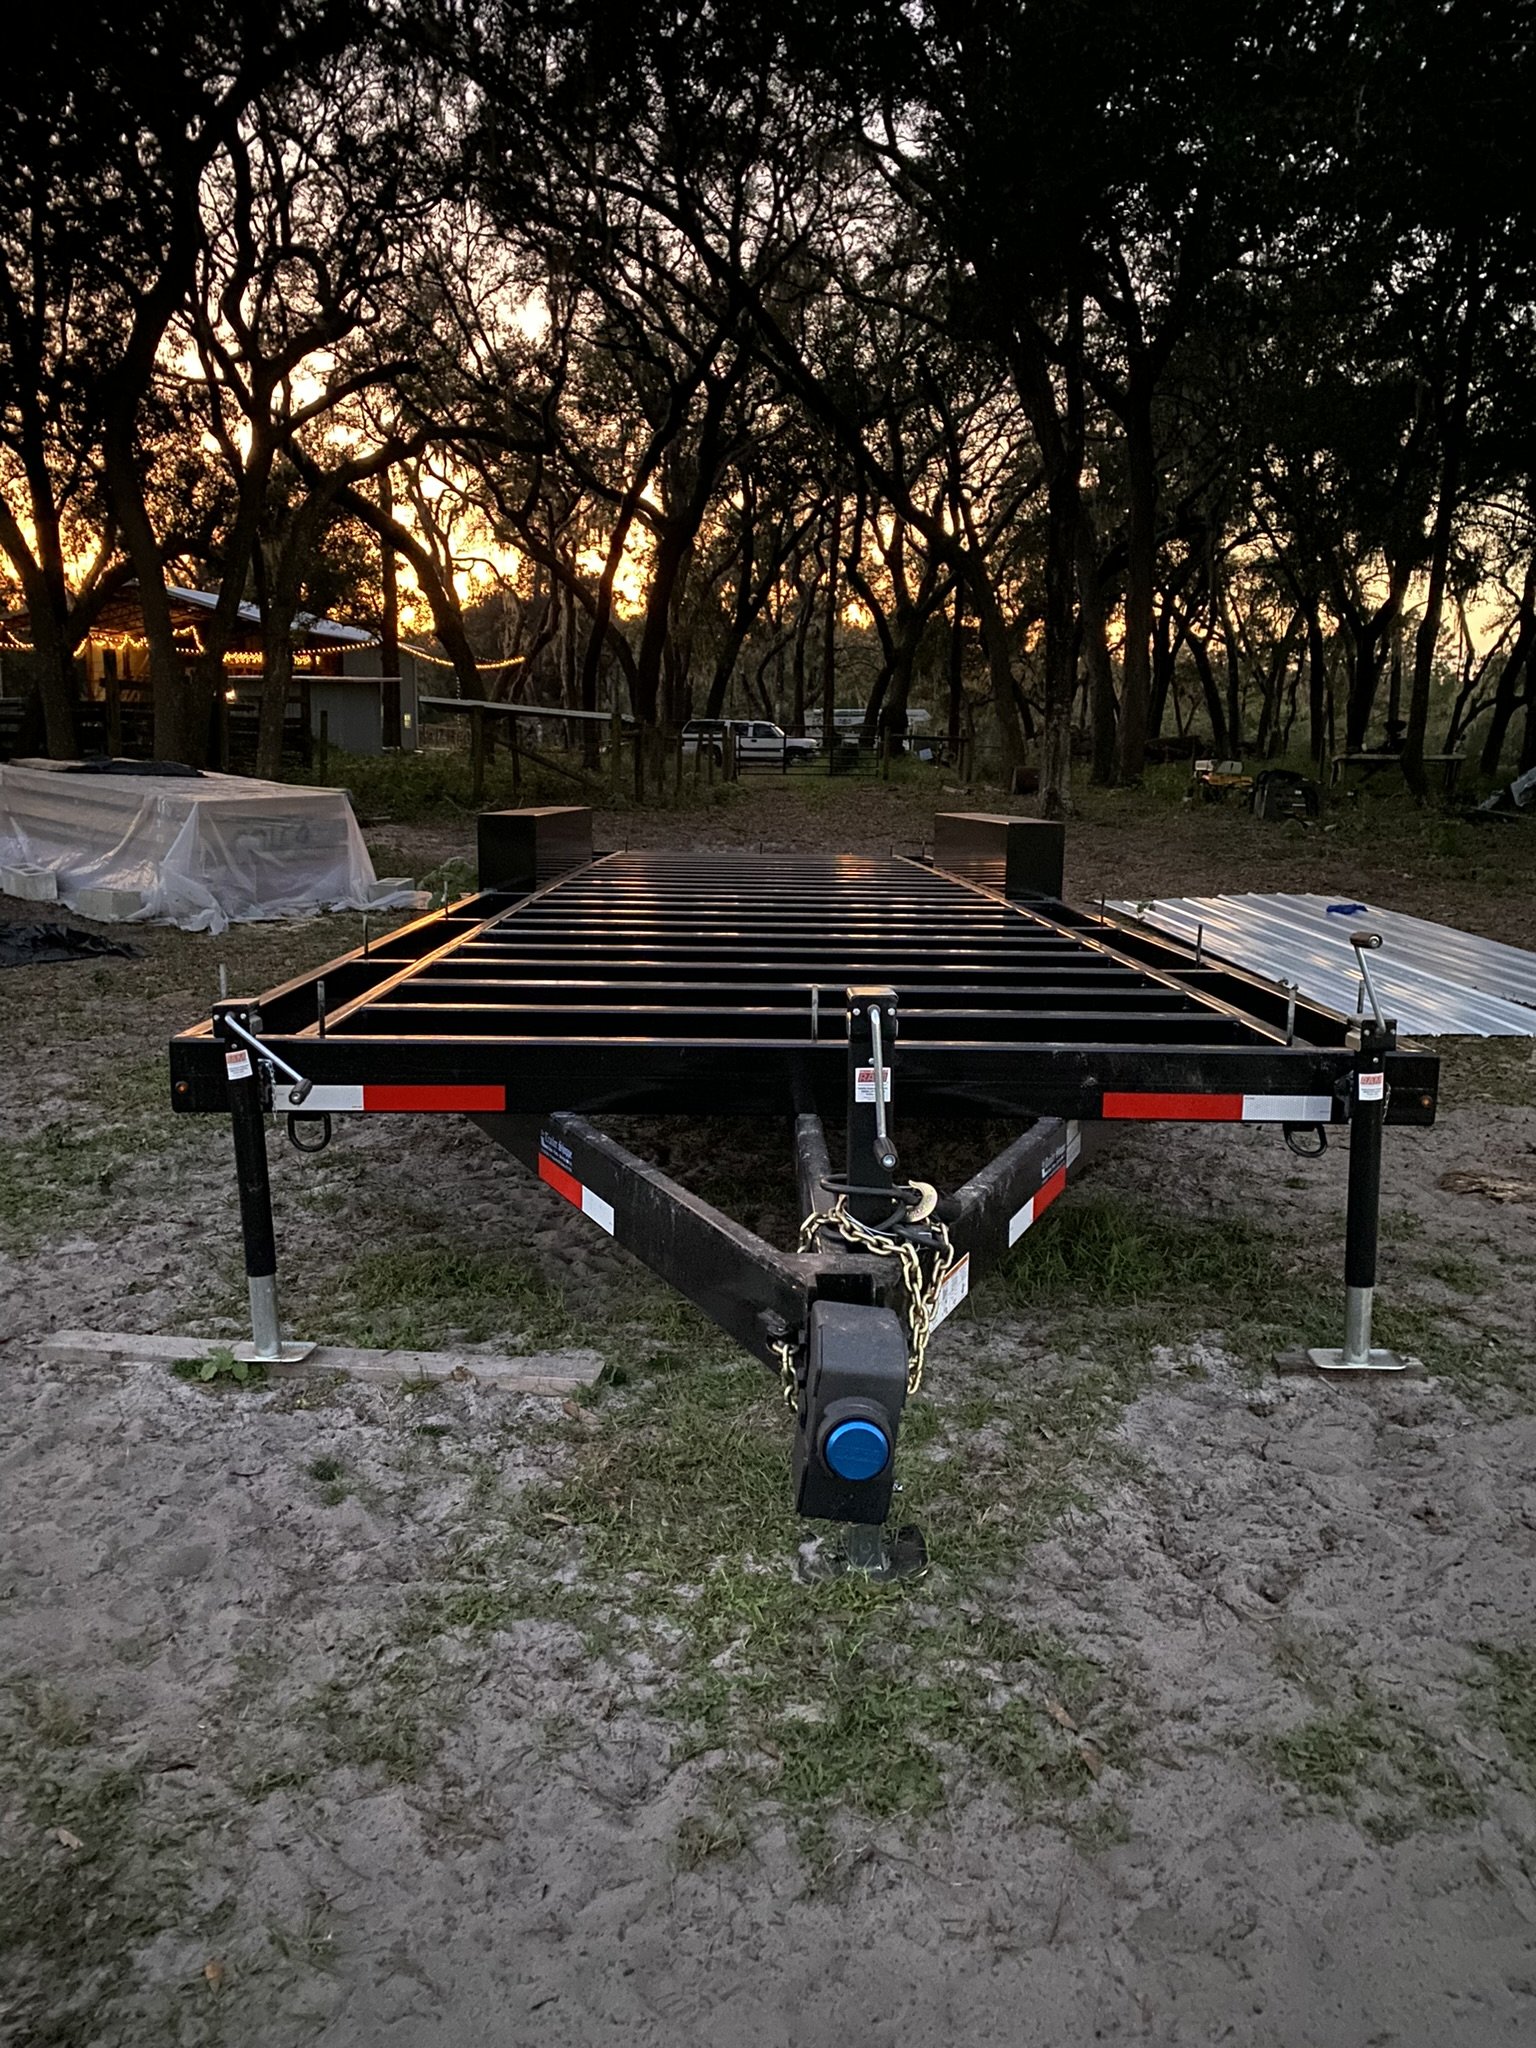
Our triple axel trailer is rated for up to 21k lbs., with each axel having a rating of 7000 lbs.
Anchored In
The tiny home is anchored to the subfloor using anchor bolts that had been welded on the trailer. Getting the anchor bolts welded onto the trailer was not an easy feat. We had already brought our trailer into the spot where we planned on building it months earlier. We built a fence around the trailer with room to work around it for the time we planned on building. The fence was important to keep the cows and goats off of our trailer and out of our area so we can work without distraction. It also kept our pup inside with us while we worked instead of her going around chasing goats and eating goat poop. What is it with dogs and poop? We definitely still let Bessy go around and chase the goats, but we watch her have fun and make sure she’s back with us inside the fenced area.
After we leveled the trailer we got consultation and redid our framing plan. At that point we decided we needed more anchor bolts welded onto the trailer and in a couple different spots. We found a friend of a friend that would do it for a decent price, but it was almost two hours away. It was what we needed, so Jason went ahead and took part of the fence down and headed down to the welding shop. Jason and his dad made the trip down in our Ford F-150 with the trailer hitched and got the anchor bolts welded in. The guy did a great job for a great price so Jason and dad headed back up to the farm pretty late in the day. They hit I-4 stop and go traffic and were quite literally “bumper-to-bumper”. Unfortunately, a much bigger truck behind them did not measure the distance needed for the stop and rammed right into our tiny home trailer and knocked off a few of the anchors that had just been welded on. The good news is that the welds held, the bad news is that the bolts were clipped right off so they would need to be replaced. The driver paid us for our trouble and we got the money back for what we just spent that day plus enough to pay another welder to fix what he broke.
We found a welder much closer to our build site and it was fixed in a couple of hours a few days later.
Our recommendation is knowing exactly where you want your anchor bolts welded when you’re ordering your custom trailer so it can all be done right the first time. I have to mention that we made so many mistakes during this build, it’s laughable. One of the most important things that got us through each day was having enough coffee. We absolutely love the Lavazza brand. With our new espresso machine in the tiny house we can have freshly ground espresso every morning. Order your own here and be ready to get through another day of the tiny home build process.


Sturdy Subfloor
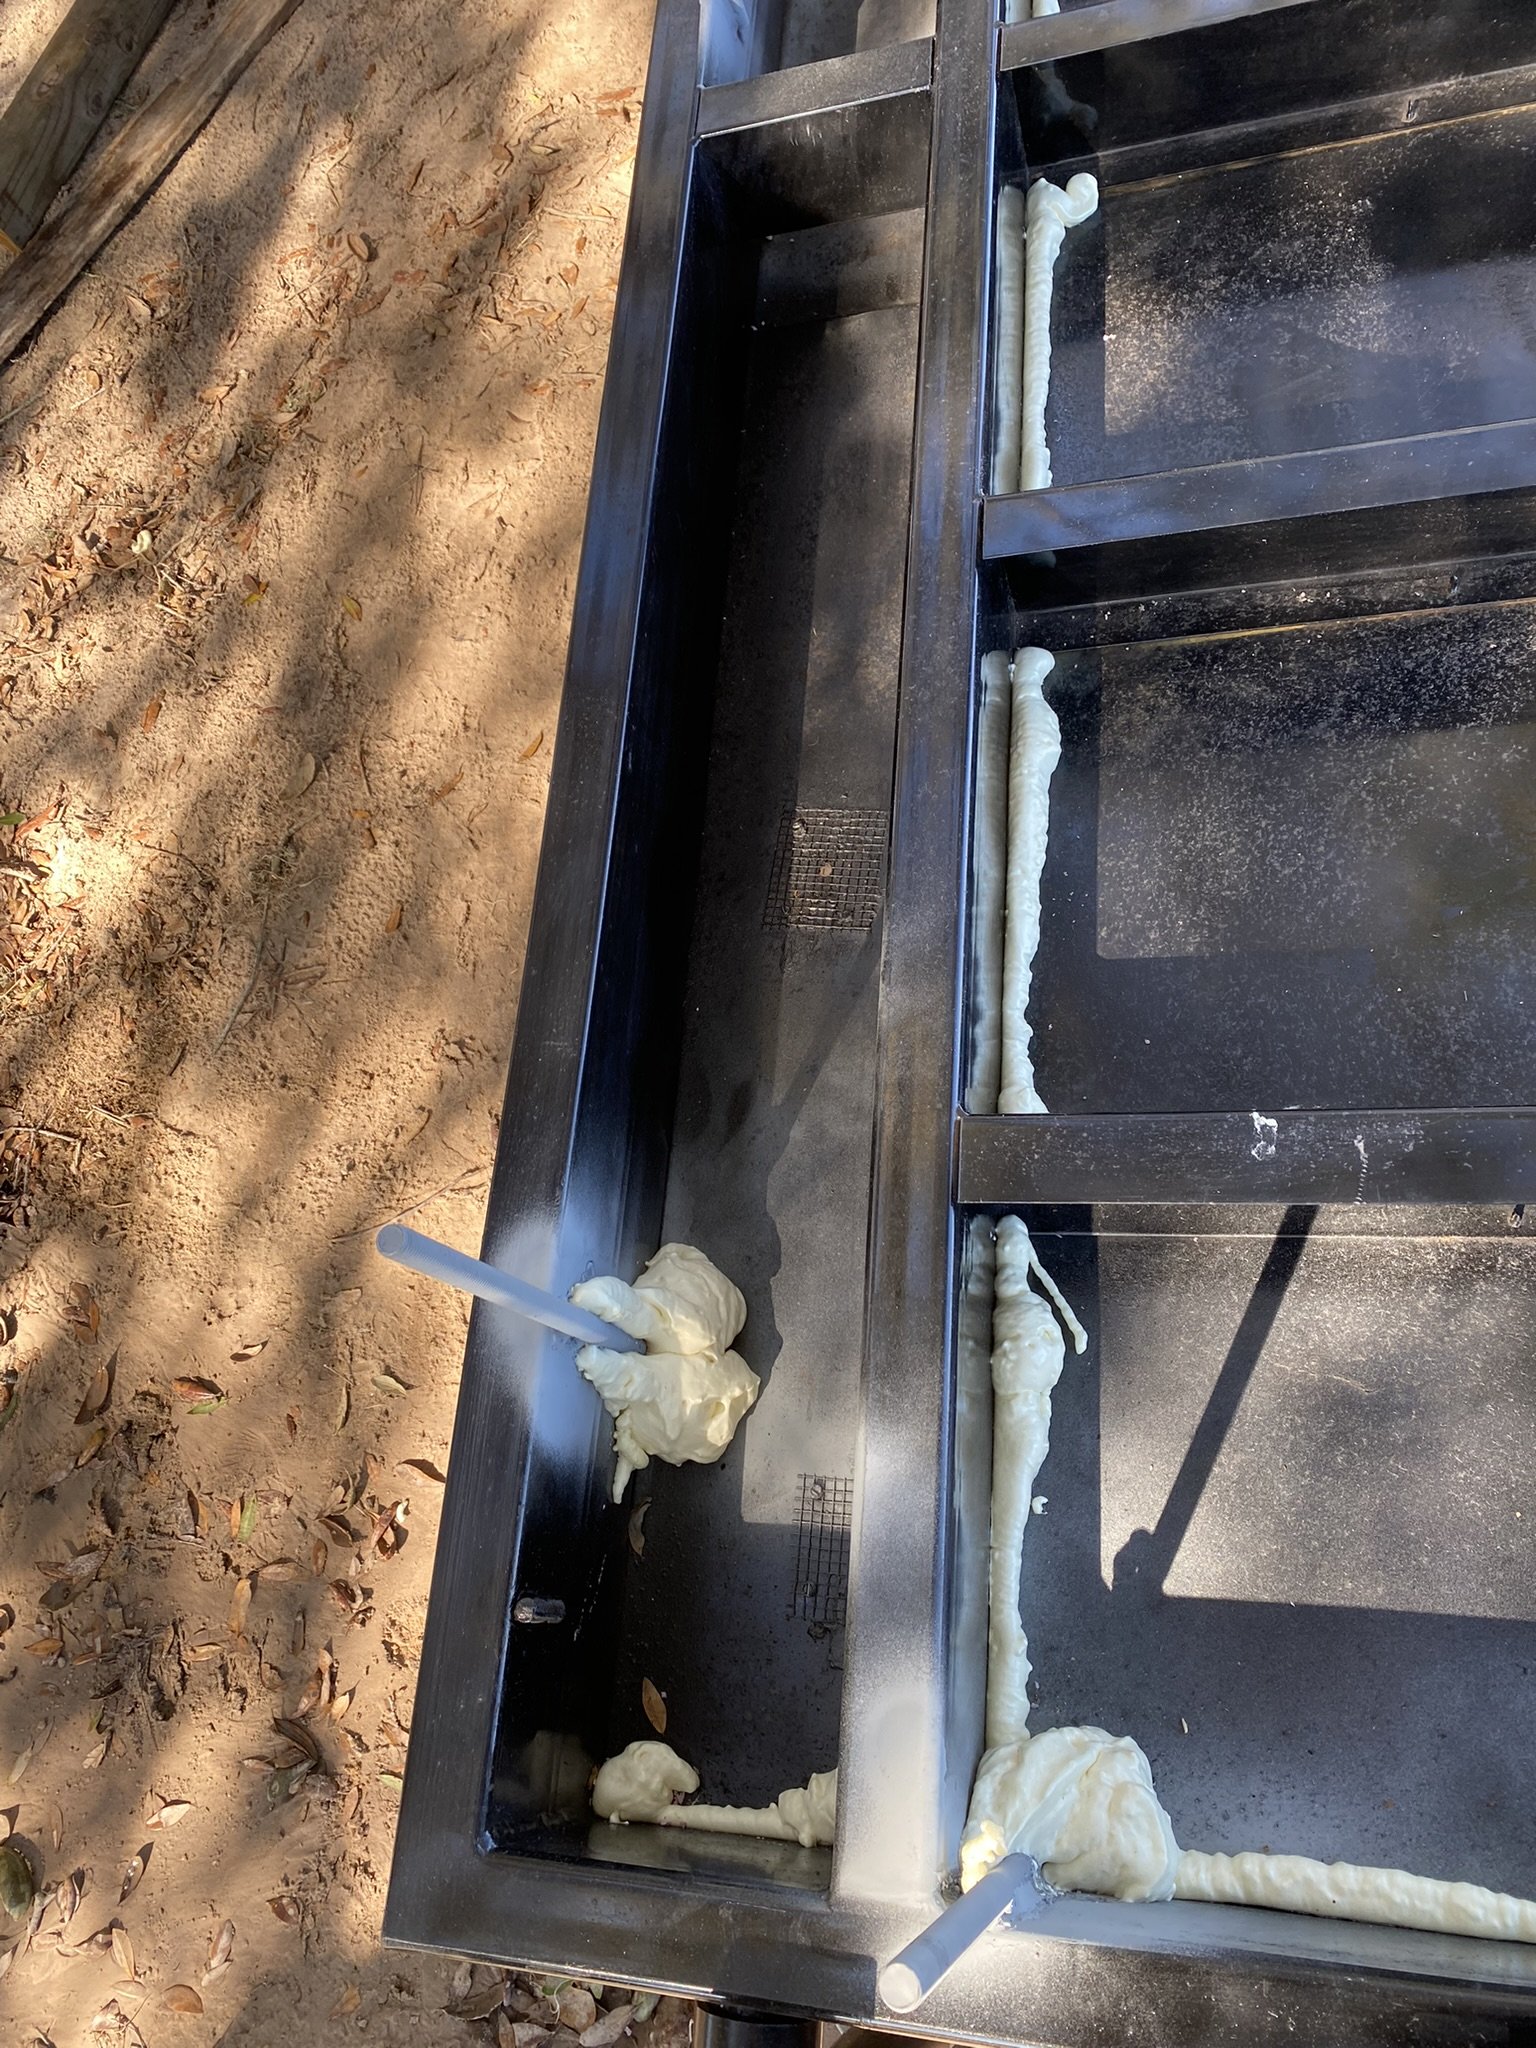
Another important factor in making a tiny home hurricane resistant is building a subfloor.
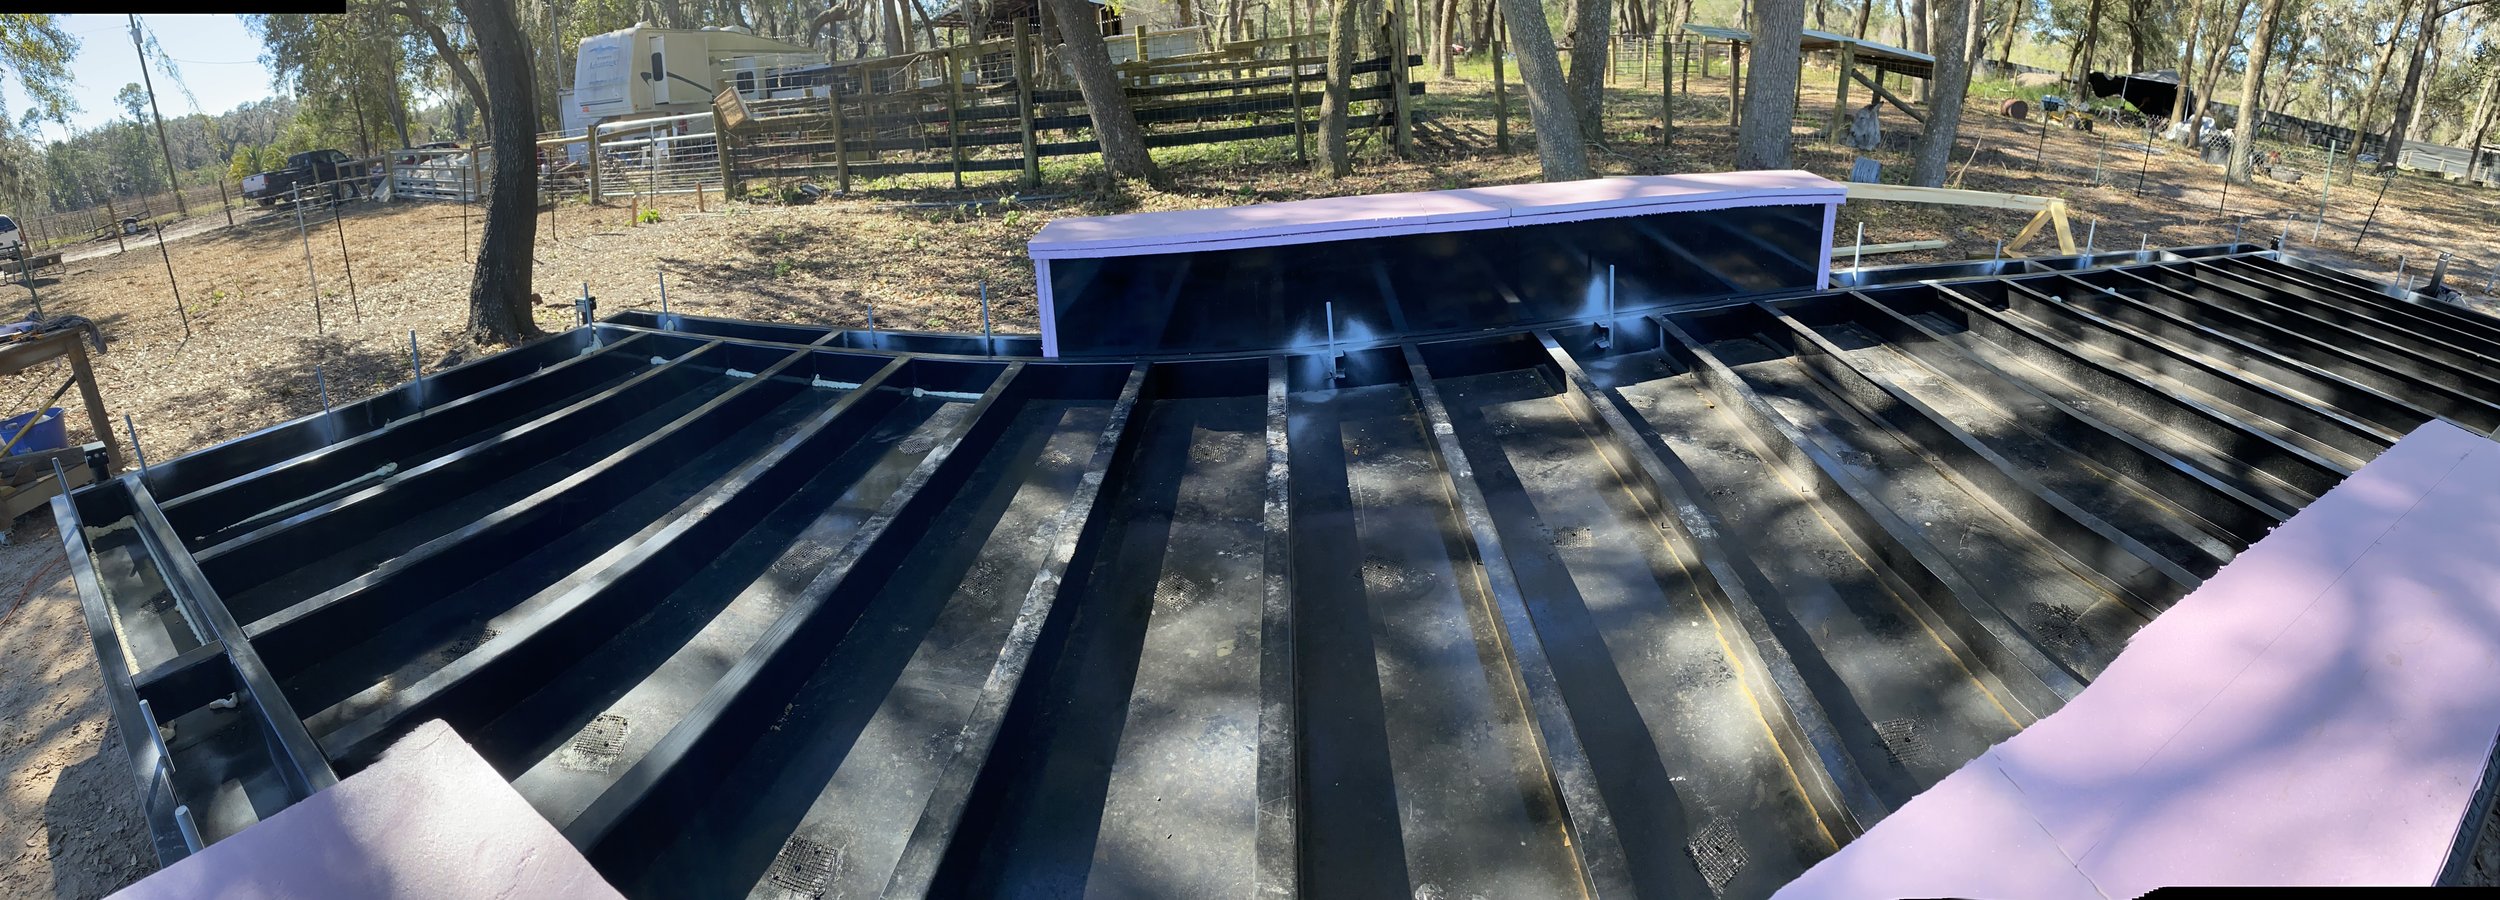
Each edge of the subfloor 4x4s had holes drilled in it for the anchor bolts to go through. Then each anchor bolt was secured with nuts, bolts, and washers to the subfloor edge. The rest of the subfloor joists were set in 3 sections. We had the tongue of the trailer as one section, the fenders dictated our middle section and the back of the trailer had another section of subfloor. Each subfloor section had floor joists running long ways with the trailer at 16” on center. While the perimeter of the trailer subfloor was built with 4x4s, the floor joists all throughout were 2x4s with the narrow side facing up. Under the subfloor joists and 4x4s, we installed a weather membrane to create a sealed envelope for our tiny home.
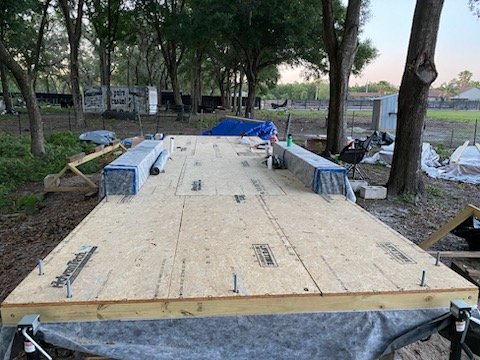
We built our subfloor on pressure treated 4x4s and 2x4s which made for a very strong foundation.
All About Them Straps
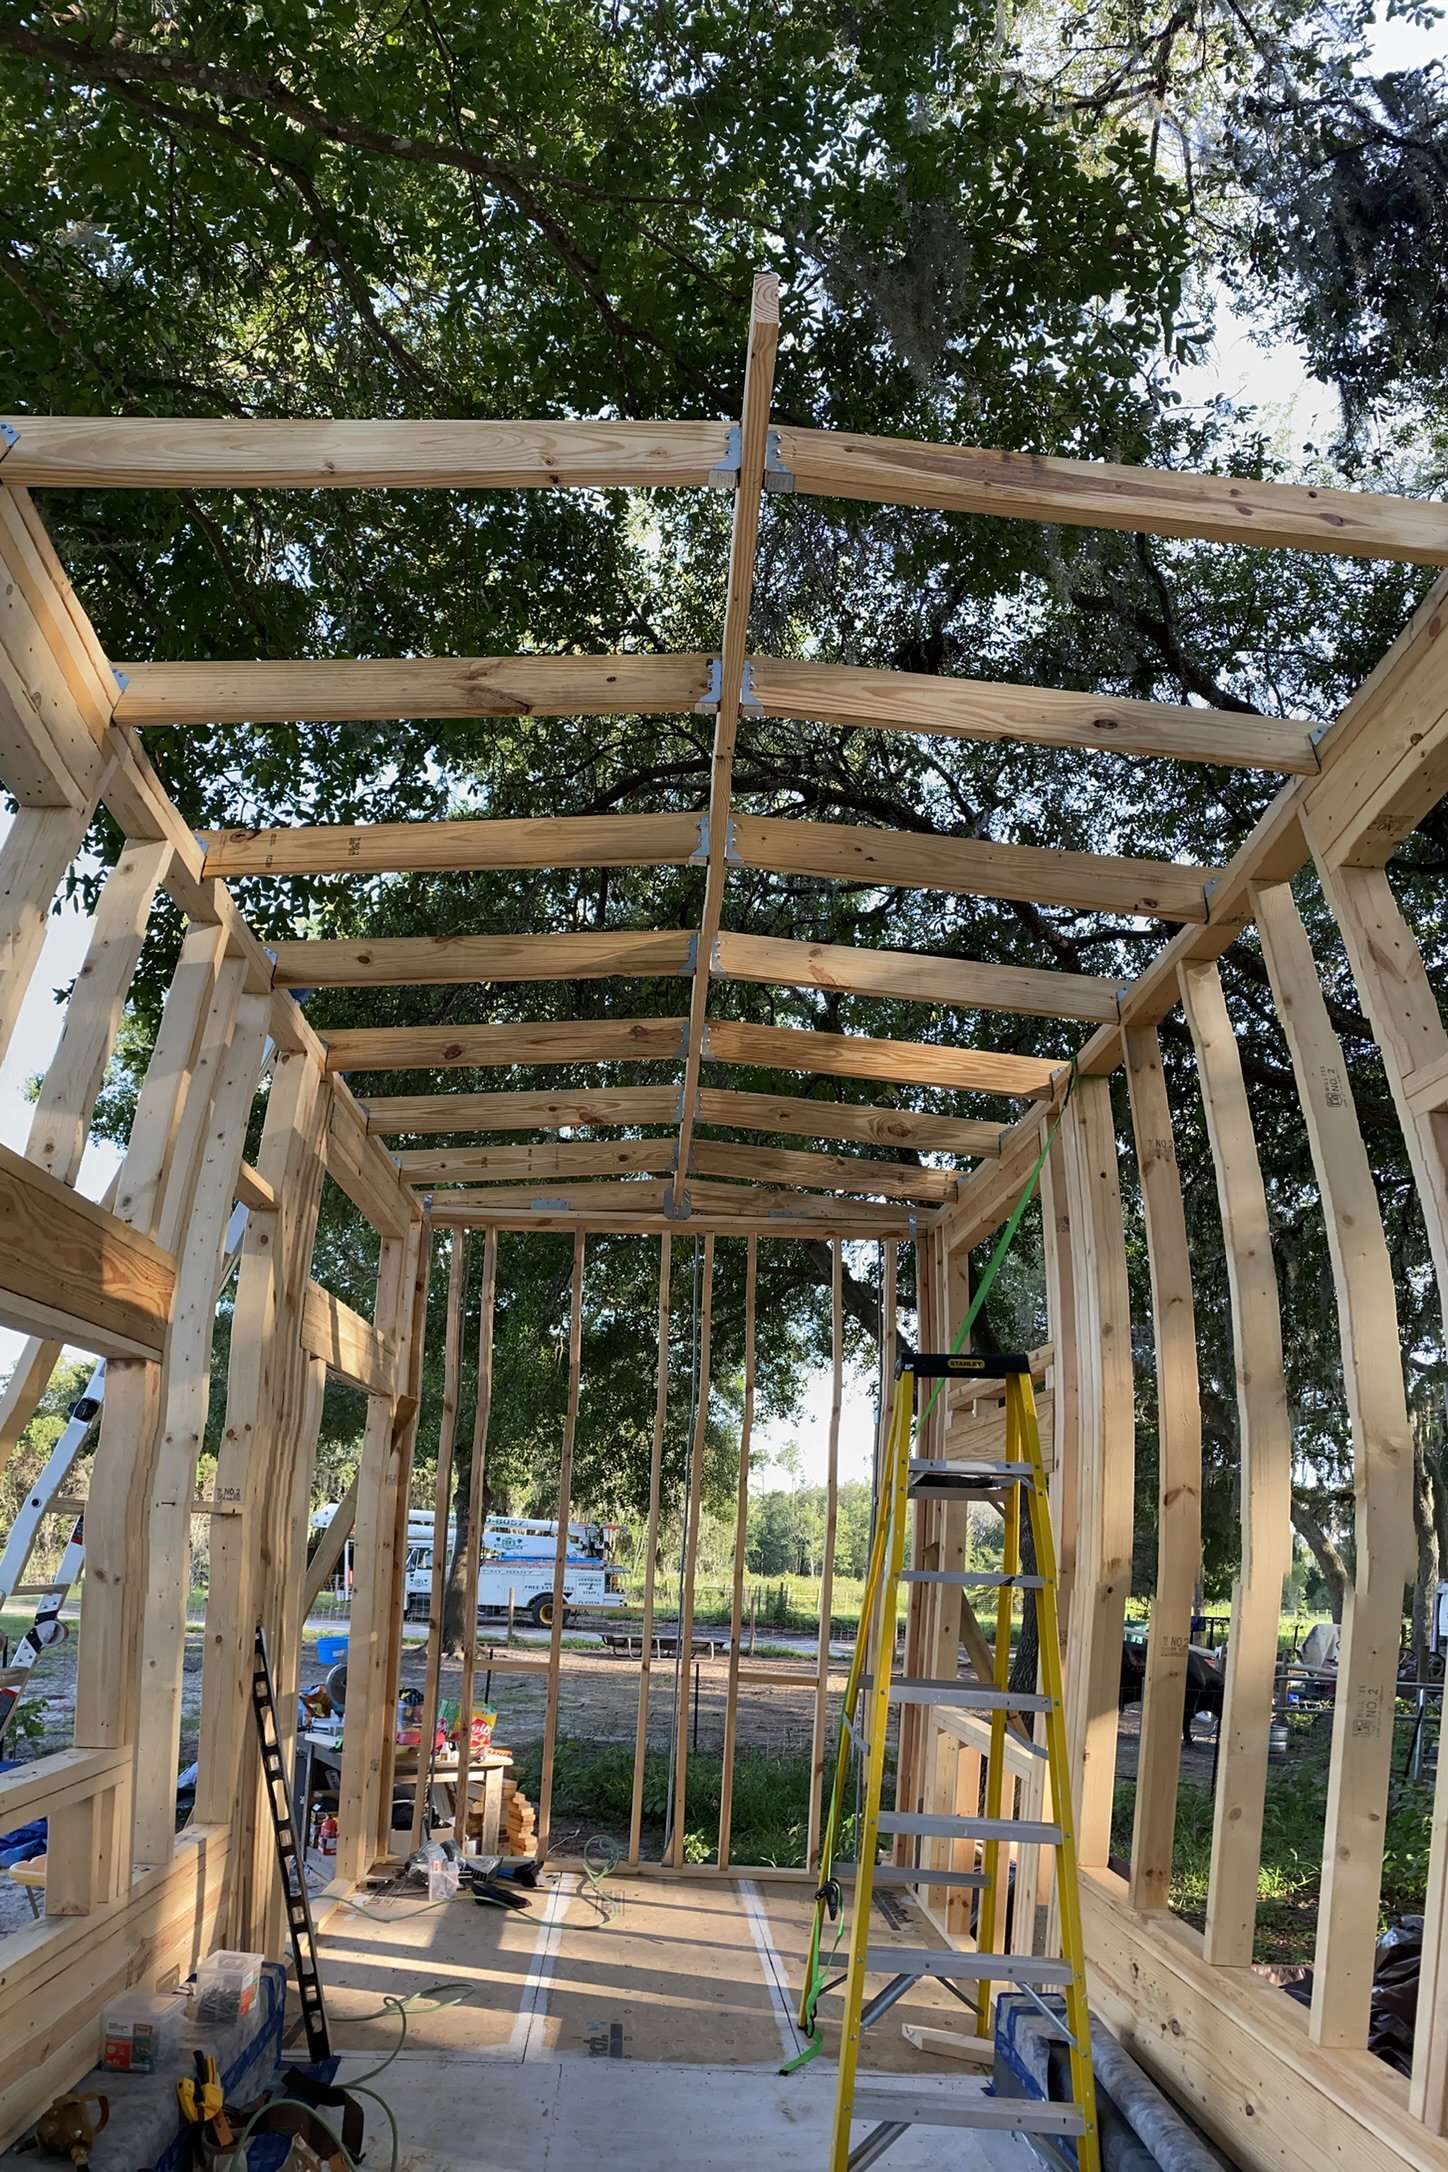
Have you ever heard of hurricane ties? They were crucial in our tiny home build and in making our tiny home hurricane resilient. The hurricane ties were used to attach the rafters and trusses to the top plate.

SHOP
We also installed hurricane straps or Simpson strong ties in the construction of the tiny home.
As Andrew Morrison would say, they are cheap insurance.

In the places where we drilled for the anchor bolts, we attached the bolts to the studs using Holdown Shearwall Attachments

As extra, not so cheap, insurance we attached 10’ long go bolts to the anchor bolts next to some of the studs. This ensures that the studs are strong and can withstand the force and strong winds of a hurricane. This also protects the tiny home as it's driving down the road at 50mph. The go bolts anchor the top plate all the way down to the foundation.
We also used Simpson steel stud plates to attach the top of the studs to the header and the bottom of the studs to the bottom plate.

Tiny Home Sheathing
We protected our home against high winds and rain with ½” sheathing on the exterior. Once the sheathing was up on the walls we really felt like our home was taking shape. It was a huge turning point in our build as we were inching closer to being completely dried in. When the framing is up, the walls have a slight amount of give, but once you tie it all together with sheathing, you know the house is solid.

We will talk more about the house wrap and our double roof in a future blog. So many factors went into making this home Florida hurricane ready.
If you want to find out what resources were crucial in our build process, grab our FREE Resource Guide. Use the form below to get INSTANT access to the resource that will save you dozens of hours!
FREE How To Build Tiny Resource Guide!
Extras
Trailer Additions
The trailer has D rings welded to each corner and two in the center. These D rings are intended as extra security during a storm or just to protect against wind in general.
You must have a tie-down anchoring kit that augers down into the soil and attaches to the D rings on the trailer with straps and bolts. This is an excellent way to secure your home during a hurricane. We plan on getting these soon.

SHOP
Tiny Home Insurance
Jason and I have yet to get our tiny home insured. We did find a company that will cover our home for some damage and loss. Unfortunately, as with most homeowner’s insurance in Florida, it does not cover hurricanes or tornadoes. We will let you know how it goes once we do get insured.
Hurricane Shutters
I’ll also be blogging about our experience with NOAH certification. As many tiny home enthusiasts know, NOAH is a tiny home inspection company. They have helped us throughout our build process and we are almost NOAH certified. At the moment, we have the final inspection to reserve and complete. We will keep you posted. So far, we have no qualms about NOAH. We have been very happy with their communication and support of beginner tiny home DIYers.
One of their requirements is for the windows to either be tempered or to have some sort of hurricane shutter built on the exterior of the home. I feel as though that is an important feature for building safety, especially since driving a tiny home on the highway is like going through a hurricane. Although we have tempered windows and hurricane impact doors, we want to install hurricane shutters, but have yet to do that. We plan on building some window coverings before we move the house. That’s another item on our list of things to do for our tiny home.
Do you want to learn more from other tiny home builders? Would you like to be part of a tiny home community? Check out TinyHouse.com and join their membership. If you click here, you will be able to sign up for Tiny House University, the #1 online educational platform for all those who aspire to live in a tiny house. Whether you want to DIY, hire a builder, or buy a tiny home, their courses and digital resources are designed to guide you throughout the process in an easy-to-digest format.

Use the discount code SUNSETS20OFF for 20% OFF your membership!
I’m looking forward to sharing more DIY Tiny Home goodies with you soon. In the meantime….

DISCLOSURE: THIS POST CONTAINS AFFILIATE LINKS, MEANING I GET A COMMISSION IF YOU DECIDE TO MAKE A PURCHASE THROUGH MY LINKS, AT NO COST TO YOU. PLEASE READ MY TERMS OF USE POLICY FOR MORE INFO.