
The Top 7 Must-Have Tools for Your DIY Tiny Home Build

When Jason and I first started our DIY tiny home journey, we found so many great resources. Of course, we were on a tight budget, so we couldn’t purchase every educational guide and course we wanted. (#Tiny House Decisions) One thing we did purchase was the tiny home workshop by Andrew Morrison. We used it a lot. It was super informative! Many mornings we would be playing it in the background while we were making lunches for long build days.
Read on to find out our 7 favorite tools we purchased for our DIY tiny house build.

Our Absolute Favorite Tool
One recommendation we heard a lot was to try to borrow as many tools as possible. And we agree! We did borrow plenty of tools that we used for the entire year and a half of our build. But one of the tools we tried to borrow from multiple people did not work out and that was the pneumatic nail gun. The best $160 we spent of the entire build was absolutely our Metabo pneumatic nail gun. We used it for the entire framing of our tiny home shell. Knowing that we could use this tool without having to get it back to a friend that worked in construction or anyone else, was a huge relief.

Tool Number 1
We used the nail gun from the beginning of our build until the very end. It was vital in framing our walls and putting them up. We got 3” framing nails and 2.25” exterior ring shank nails for the sheathing. We bought a lot of nails throughout the year and a half of the build. We recommend you shop around before buying at your local big box store. The best deal for us was getting a large amount of nails in a box at the local building supplier. We got more bang for our buck.
The sheathing couldn’t have gone up without the framing nailer. Even our friend who had never used one before, was able to help us put some sheets up with the use of this nailer. We had absolutely no issues with the Metabo pneumatic nail gun. It was worth every penny. Right before we made the purchase, we tried getting a nail gun second hand on Facebook Marketplace. We paid for it, then got to the build site and connected it to the air compressor, and the gasket was already blown on it. We tried everything to fix it, including getting some tools and parts from the auto store, to no avail. It was a good $45 wasted and we had bought it from a guy that was a 45 minute drive away to boot. At least our other Facebook Marketplace finds turned out to be much better deals.
We had the benefit of being on our friend’s property with close access to a fairly large air compressor. The power pole and water hose were really close too. We did not take any of those perks for granted. Although you need an air compressor to be able to frame your DIY tiny home with a pneumatic nail gun, the Metabo Framing Nailer is well worth it.
Storm Season
One of the most trying parts of our build process was getting dried in. It was pretty frustrating thinking you were done for the day only to realize you still had to cover up your 28’ trailer with tarp in the middle of the rainy season in Florida. Jason built a couple of fairly large saw horses to put on top of the trailer so that the tarp can hang on them instead of laying flat on the trailer. Otherwise the rain would go right into the trailer cavities we were trying to cover with the subfloor joists. We needed to keep water from pooling on top of the tarps.
We probably used about 10 tarps for covering our trailer, work bench, piles of lumber and packages of insulation. Some were borrowed and some were new. In case you didn’t know, tarps are not cheap! Especially if you want the ones that are thick enough to withstand strong winds during the storm season. Yes, we did build our tiny house through an entire hurricane season in Florida only minutes from the coast. We also had to constantly be ready to cover stuff up if it started to rain. The house wrap we purchased is the best one at keeping moisture out. Since we weren’t interested in having gallons of water held in our subfloor, we made sure to have tarps ready to cover quickly.
When we got back to the build site in the morning after a rainy night, uncovering the tarps always took a lot of work! We were so happy to have a sturdy shop vac to suck up all of the sitting water mixed with leaves. The landlord had us set up our build under the oak trees on the back of the property. They made sure we were building under shade in the Florida sun. That meant that the leaves were piled up on top of our trailer after a windstorm. The shop vac came in handy so many times. Here is the second top tool we purchased for our build.

Tool Number 2
Dewalt Shop Vacuum Wet & Dry
The DeWalt Shop Vac has lasted us this long and we are very happy with the purchase! It’s great for keeping our home tidy as we work throughout the day. Before we leave the jobsite for the day, this shop vac does the trick with all of the accessories it comes with and it even has a handy pouch on the back for storing them. We have no regrets on this purchase. Just make sure to read the instructions on what to do about the filter when vacuuming up wet messes instead of dry ones.
Our Number One Drill Pick

Tool Number 3
Any DIY builder knows how important a drill is in construction. We had a couple of options for our drills. One we purchased before we even dreamt about going tiny and a few drills we borrowed or got second hand. Our absolute favorite drill was the Milwaukee battery powered drill. We also have a Black & Decker powered drill, but the force it provides doesn’t compare to Milwaukee. The Milwaukee drill has a lot of torque for such a small drill. It almost feels like an impact driver. It delivers up to 275 in lbs of torque. It also easily gets in tight spaces. The battery lasts about 1.5 hours. When we were installing the metal siding for our tiny home, it was just about what we needed. When we installed the tile in our bathroom and kitchen, we also used the Milwaukee drill to mix mortar since it has so much power. It was great for mixing the grout for the tile as well. Even my dad, the cabinet installer for over 30 years, couldn’t believe the torque of the Milwaukee drill.
If you’ve never used a hammer drill, you need this in your life!
After getting consultation from a healthy tiny house expert, we decided to change our plans for our tiny home build. One of the recommendations she gave us was to drill weep holes into the metal flashing under the trailer for moisture drainage. We used a metal mesh material to prevent bugs from coming in. These holes are an easy fix to preventing mold and moisture issues in your tiny home subfloor. You get big results for little effort. The best tool we found for drilling these holes was a cabled hammer drill. The torque in a drill like this is pretty incredible to feel as a beginner DIY tiny home builder. We were shocked!
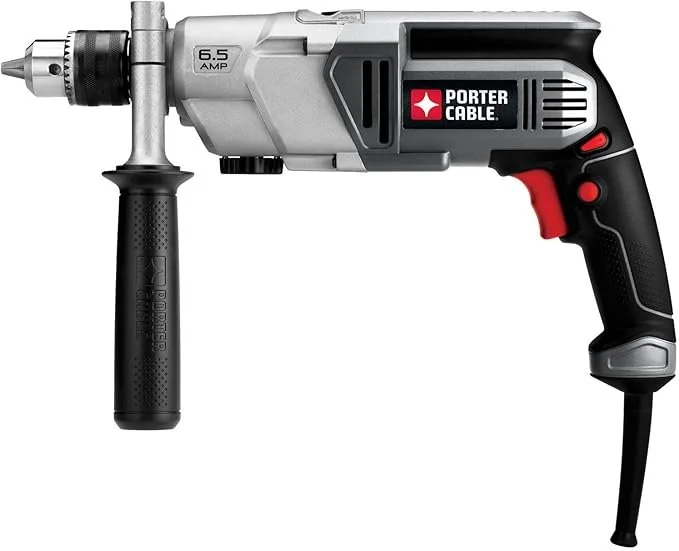
We also used a hammer drill for cutting holes in the trailer for plumbing. We managed to borrow our friend’s corded hammer drill for the beginning of our tiny home build, but after a while we realized we needed to get one of our own. We were going to be using one for the entire build process. We decided to check some out online and realized the best deal would be to try to get one second hand. We hoped it wouldn’t turn out as poorly as our framing nailer situation from Facebook Marketplace. Jason did some pawn shop hopping and found the Porter Cable Powered Hammer Drill for an incredible price.
Once we were ready to drill holes for the anchor bolts to tie the walls to the trailer and subfloor, we used the hammer drill too. Finally it was time to frame our walls and we were ready to use the hammer drill for drilling holes in some of the top plates and for putting bolts in to secure the walls.
Because of the weight of our studs, we decided to split our long rake walls into three sections. That made putting walls up much easier. Our friend that worked as a builder for many years, suggested we use all thread bolts to securely tie the walls together. You wouldn’t believe how sturdy the home feels thanks to tying the walls together with those bolts!
We also used it for drilling through studs to run the electrical wires. When rough plumbing, we used the drill for making holes in the walls and studs for our PVC drain lines and PEX pipes. My favorite use for this hammer drill was when we were cutting the metal siding. Have you ever heard of a sheet metal cutting attachment? It’s amazing! You connect it to the cabled hammer drill and cut your metal sheets in a vertical straight line.
For shorter horizontal cuts the hammer drill method doesn’t work. We had to use our manual metal snips.

These are the ones we used.

Skill Saw or Circular Saw?

Tool Number 5
Is it called a skill saw or a circular saw? That’s a good question! So Skil is actually a common brand of a saw that is handheld. All saws are circular, but a handheld saw is known as a circular saw. The circular saw we used throughout most of the build wasn’t anything to write home about. But when my dad came to help us with finishing, cabinet building, and other trades he came around for, we took advantage of using his Ryobi circular saw. Ours was cable powered and this Ryobi saw is battery powered which made negotiating around the build site with a light cordless saw much nicer. We used it for ripping plywood for our tiny home interior walls. We also used this baby for the ¾” thick plywood that’s used as our gas strut lift top bed. It was fantastic to be able to cut ½’ off the edges without having to move the whole thing outside of the tiny house again! If we needed to buy a circular saw, the Ryobi cordless one would be it!

When working on the top plates and trusses, Jason was safe on the ladder with these. There were no other boots I trusted for my hubby on the roof. Since the Caterpillar work boot is steel toe, his PPE was Safety approved while using a nail gun to frame walls and put up sheathing. These are sturdy and comfortable for someone with flat feet having to be on their feet all day. These are pretty waterproof, they have good quality stitching and high ankle support. The soles are very durable, they don’t wear easily. The Caterpillar Steel Toe Work Boot looks good too.
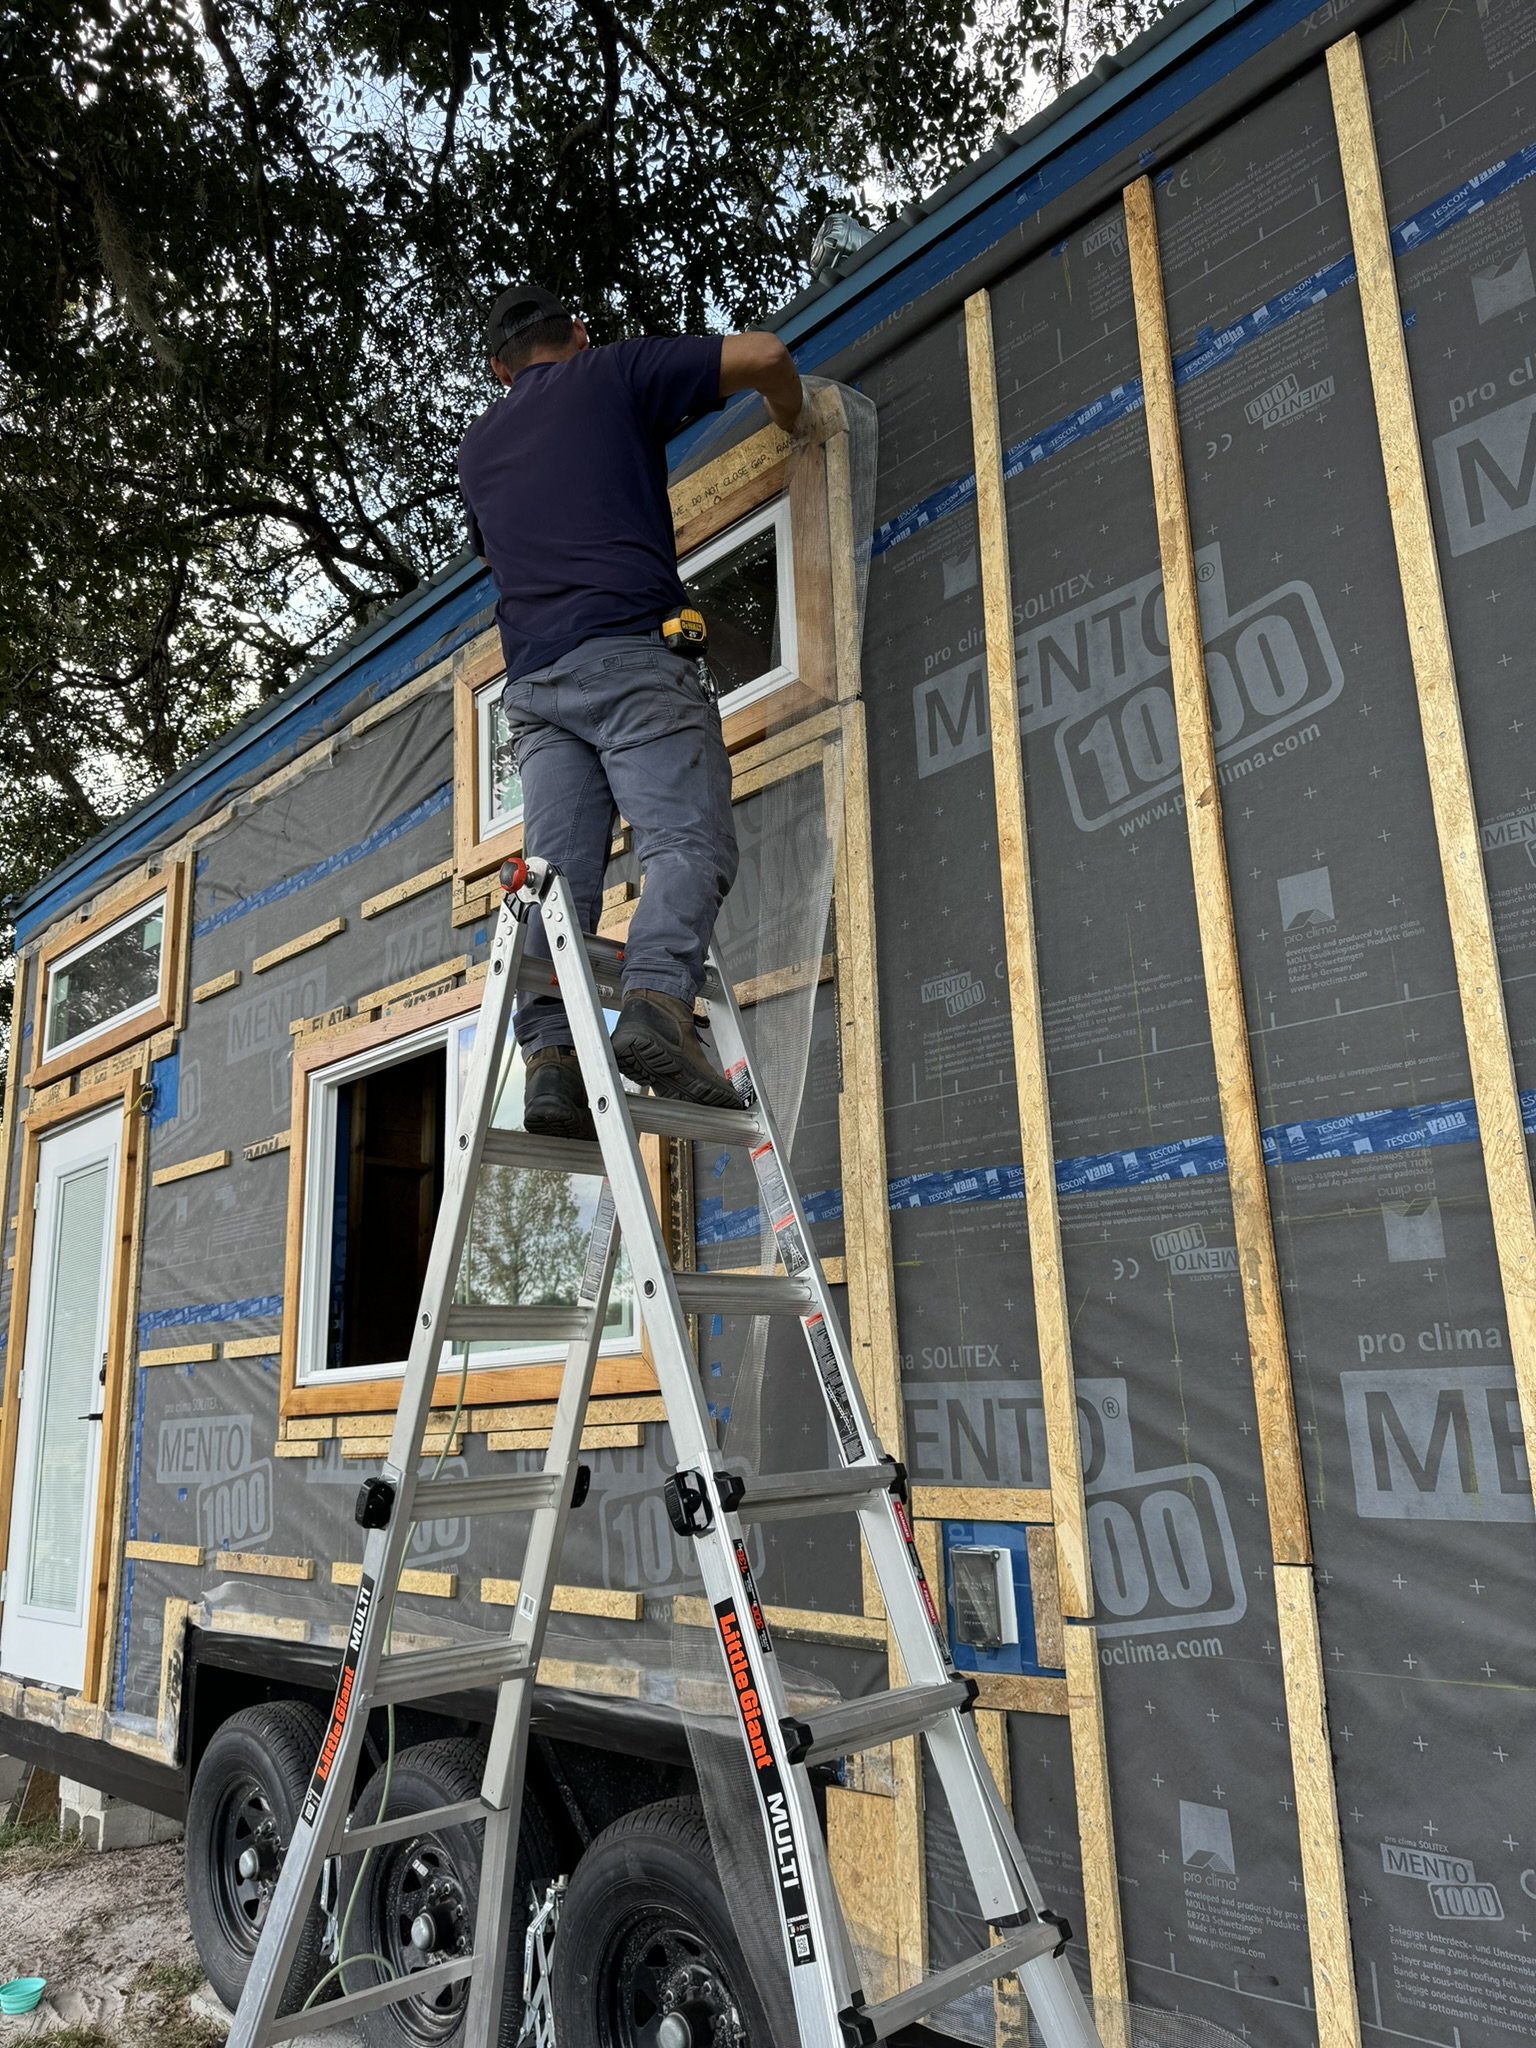
Here’s Jason putting up a bug screen on the tiny house exterior under furring strips for the rain screen before our metal siding goes up.
A Necessary Extension To Any Tool Kit

Tool Number 7
This is similar to the one we have
And our last, but not least of the top 7 tools we purchased for our DIY tiny home build was the Little Giant 22’ Ladder. We’ve used this same brand of ladders for over 10 years since we started our window cleaning and painting business. We knew it would be just the one to get when we moved down to Florida to start our build and our new business up and running. It folds into a 5’ 7”. And can be hauled fairly easily around the tiny home exterior. It can be extended up to 22’ which is more than enough to reach the roof of our 13’ 6” high tiny home. We mainly used it in the A-Frame position and it was super sturdy and safe. We also have a wall stabilizer bar that we got from Werner. This Little Giant one can be purchased with its own brand of a wall standoff Wingspan accessory. When you realize how adaptable the Little Giant ladder is and how many positions you can set it up to, it starts to become a very necessary extension to your tool kit.
Of course, there are many more necessary tools to make a success of your DIY tiny home build. The ones listed here are our favorite, let us know what tools you’ve found to be your favorite and any other recommendations you might have. Feel free to contact me at:
Damaris@sustainablesunsets.com
Would you like to learn how to build your own tiny home for less than $100,000 by signing up with Tiny House University.

Use the discount code
SUNSETS20OFF
for 20% OFF your membership!

Be sure to watch our recording of the online workshop with TinyHouse.com. Just join our newsletter subscriber list to get video access.
Also make sure to sign up to get your free guide on My Top 7 Tiny Home Build Resources we used during construction. I went through tons of YouTube videos, blogs, books, and podcasts so you don’t have to waste your time on the ones that won’t actually show you how to build your tiny home. Join now to get INSTANT access to the resource that will save you dozens of hours!
FREE How To Build Tiny Resource Guide!

All you have to do is subscribe to our newsletter and you’ll be directed to this very special FREE Resource Reference Guide with links to get started on your build planning now! Click Join Now to subscribe!

DISCLOSURE: THIS POST CONTAINS AFFILIATE LINKS, MEANING I GET A COMMISSION IF YOU DECIDE TO MAKE A PURCHASE THROUGH MY LINKS, AT NO COST TO YOU. PLEASE READ MY TERMS OF USE POLICY FOR MORE INFO.